
Outlook for mac is finally here! Mac users can now setup their Microsoft Exchange account using Outlook 2011 and these instructions will get you up and running.
Let’s take a look at the steps below to get you going:
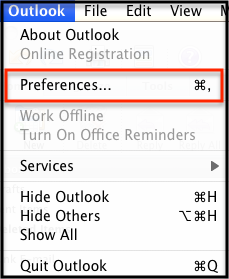
- First thing you’ll want to do is open up Outlook 2011 and from the Outlook drop-down menu, select Preferences.
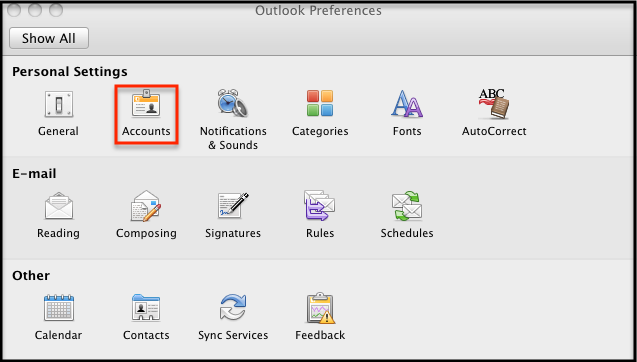
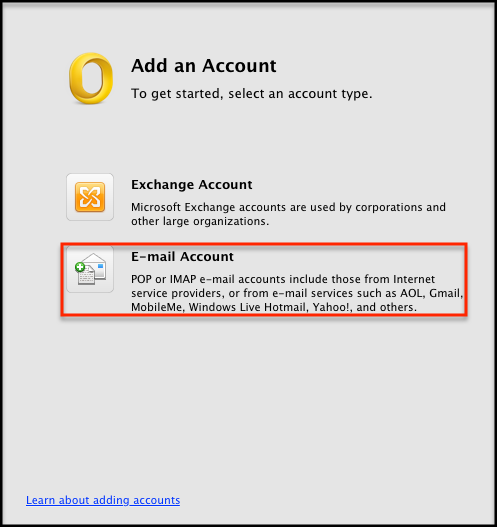
- On the Preferences menu, you’ll select Accounts and on the accounts screen, select E-Mail Account.
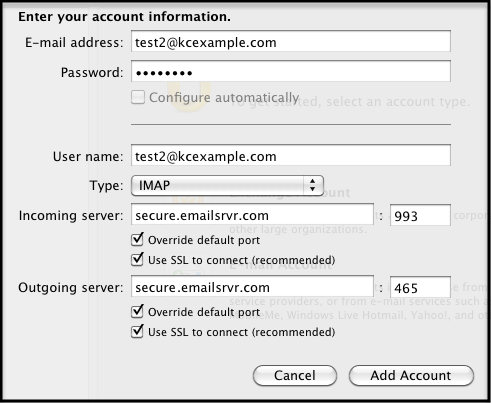
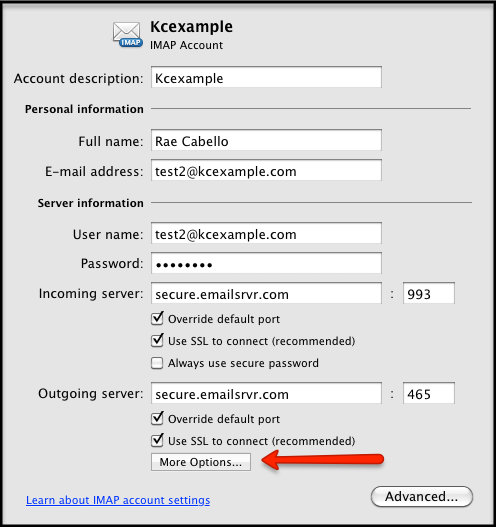
- Enter your email address & password and the box will then expand. You’ll enter the following information below:
- Username – Enter your entire email address (e.g. [email protected])
- Type – Select IMAP from the drop-down menu.
- Incoming server: secure.emailsrvr.com Port: 993 Check the “Override default port” & “Use SSL to connect” boxes.
- Outgoing server: secure.emailsrvr.com Port: 465 Check the “Override default port” & “Use SSL to connect” boxes.
Note: If you already have an account(s) configured, select the plus symbol in the lower left hand corner, then select Email Account.
- Click Add Account and the click “More Options” under outgoing server.
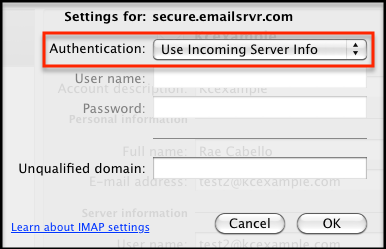
- In the pop up window, select the authentication drop down and choose “Use Incoming Server Info” then select OK to confirm the changes. Close all your windows & you’re done!
Note: If you already have email on the server, your email will slowly begin to populate your inbox. This can take some time dependning on how much data you have.