
The following article will show you how to setup your WebSmith Cloud Email account using your Mac Mail email client.
Let’s take a look at the steps below on how to configure your account:
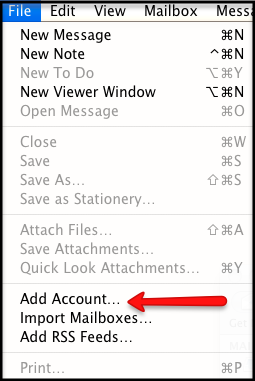
1. First thing you’ll want to do is open up Mac Mail and select File and Add Account. If this is the first time Mac Mail has been used, the setup assistant will appear.
2. Enter the following information:
Full Name – Enter in your first and last name. This is the name that will appear in the From field of messages you send.
Email Address – Enter in your entire email address (e.g. [email protected]).
Password – Enter in the password associated for your email account.

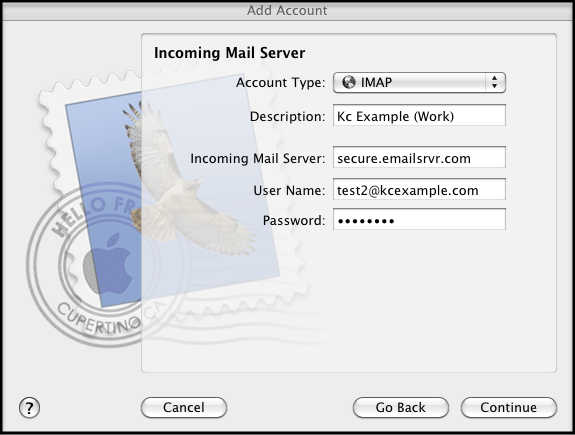
3. Click the Continue button and Enter the following information:
Account Type – Select IMAP from the drop-down menu.
Description – Enter in a descriptive name of your choice for your mail account (e.g. Work Mail or Home Mail).
Incoming Mail Server – Enter in the secure server name: secure.emailsrvr.com
User Name – Enter in your entire email address (e.g., [email protected]).
Password – Enter in the password associated with this account.
4. Click the Continue button and Mac Mail will now attempt to detect the incoming server settings. If the Incoming Mail Security window appears, do the following and click Continue.
Check the Use Secure Sockets Layer (SSL) box.
In the Authentication drop-down menu, select Password.
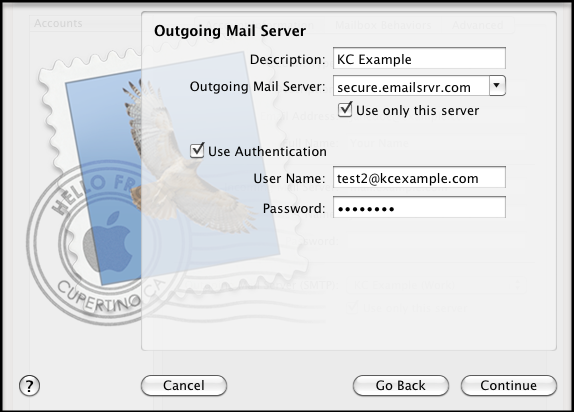
5. Enter the following information:
Description – Enter in a descriptive name of your choice for your mail account (e.g. Work Mail or Home Mail)
Outgoing Mail Server – Enter the secure server name: secure.emailsrvr.com
Check the Use only this server box and also check the Use Authentication box.
User Name – Enter in your entire email address (e.g. [email protected])
Password – Enter in the password for your email account.
6. Click the Continue button and Mac Mail will now attempt to detect the outgoing server settings. If the Outgoing Mail Security window appears, do the following and you’re finished!
Check the Use Secure Sockets Layer (SSL) box.
In the Authentication drop-down menu, select Password.
Click the Continue button and then click the Create button.
Using IMAP Folders:
To simplify the organization of your messages, you can indicate which IMAP folders Mac Mail should use to store sent mail, drafts, spam, and trash.
1. Select Mail / Preferences, click the Accounts button, located at the top of the window and click once on your IMAP account, as it appears in the Accounts list.
2. Click the Mailbox Behaviors tab, clear all of the check boxes and close the Accounts window.
3. When prompted to save your changes, click the Save button.
4. In your IMAP folder, located in the Mailboxes pane (select View / Show Mailboxes to display the pane if it’s not there), do the following:
Click once on the Sent, Drafts, Spam, or Trash folder.
Select Mailbox / Use This Mailbox For.
Select Sent, Drafts, Junk, or Trash from the resulting list in the sub-menu.
5. The selected folder will disappear from your IMAP list, and will now reappear as the corresponding Mac Mail folder.
Note: If you already have email on the server, your email will slowly begin to populate your inbox. This can take some time dependning on how much data you have.